Showing posts with label ball bag. Show all posts

Tuesday, August 3, 2010

Ball Bag Part 4

Okay, so the ball bag wasn't quite finished. Yesterday I took it over the school to give to the Middle-school coach. Naturally she wanted to try it on the stand to see how it would work. This was my first time to see what the stand actually looked like, and it was very different from I was expecting.


I was thinking it would sit flat on the floor and have it's 4 slats coming out at an angle the length of the original bag. As you can see it's quite different from that idea! Because of it's X shaped design and long length of the top slats the bag slid all the way in causing the sides to fall downward. If I had had the stand with me during the bag's construction I would have been able to make the appropriate adjustments, namely shortening the middle section and side pieces so that they would be taunt.

So I brought the bag back home and made a few alterations. First off, I had to figure out how much extra fabric there was.


Then I sewed 4 darts down the sides. And voila! It now fits taunt! Unfortunately, it still doesn't fit as nicely on the stand as I would wish, but everyone was extremely happy with it when I took it back to the school today. :-D

Saturday, July 31, 2010

Ball Bag Part 3

Well, I've obviously not updated on the ball bag for the last couple of days, perhaps it would be best to start at the beginning.

Day 3.
After everything was going so well, I was ready to finish the bag on Thursday. Unfortunately, when I went to pin the side pieces to the middle section I discovered that things were not lining up right.


Somehow or another the side peices ended up being almost 2 inches higher then the rest of the bag.


I still can't figure out how it happened since I added the same amount to every piece. I even remeasured the end pieces and found that I had added 5 3/4in, to the original end pieces, and only 5 1/2 to the side pieces. Strange, isn't it? Well, the whole thing upset me so much that I couldn't work on it at all on Thursday and ended pulling weeds in my flower garden to let off steam. ;-)

Day 4.
Returning to work, resigned to the only thing I could think of to fix the problem, and began be cutting off the excess from the top of the sides then ripping out the binding and resewing it on the shortened pieces.

Next I sewed the sides to the middle section. And thankfully the newly shortened pieces fit almost perfectly!


Day 5.
Today I started by pinning the binding all the way around the bottom, then up the diagonal sides and across the top of the bag. I used all but 3 of my pins to do this!


And with hardly any extra ribbon to spare!


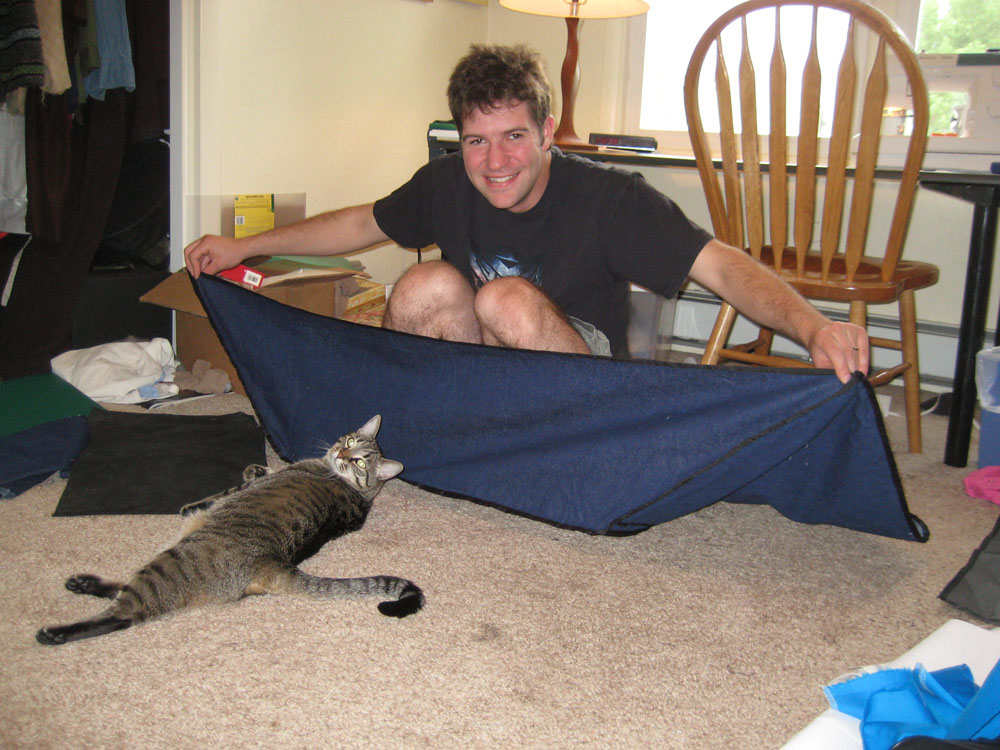
Then all I had to do was stitch all the way around, fill in the gaps, and it's done!!! Here's my husband holding it up for me.


I sure hope the school is satisfied with my work.

Wednesday, July 28, 2010

Ball Bag Part 2

Things are looking good today! I was able to get enough done that I have a really good chance of finishing the ball bag tomorrow!!! I never even considered that it would go this fast. I'm beginning to wonder why in the world I stressed over this project so much.

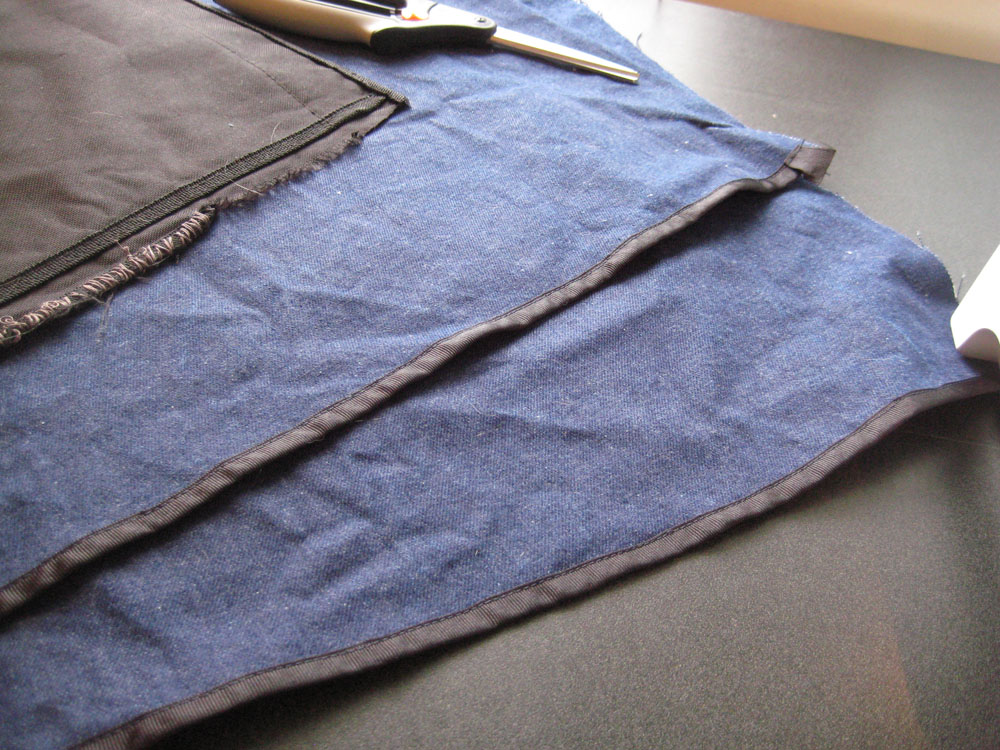
To start things off, I had to finish the second side I didn't have a chance to do yesterday, then sew both sides to the bottom. Wrong sides together with 2 rows of stitching under the grosgrain ribbon. I hope this way it will end up being much stronger then the original bag, which only had one row of stitching and had been ripped and resown numerous times.


As a side note, I sure am glad school gym's are rather dirty places as maybe they won't notice something that as much as I try I cannot get off the denim. ;-)


The last thing I did was too sew the binding to the top sections of side pieces. And just as I wrote that I realized that what I've been calling the side pieces are actually the end pieces! Oops! I hope this doesn't cause too much confusion.


While I was pinning the binding to the second side I discovered something that made me exceedingly grateful that I decided to go ahead and get a second roll on grosgrain ribbon! Thank you Lord!

Tuesday, July 27, 2010

New Swimsuit/ Part 1 of the Ball Bag


About 2 and a half weeks ago I finally finished my new swimsuit!! I've had the pattern and fabric for about 3 years, but had just never gotten to it. But with an acting job my husband got in Texas I figured there be a pretty good chance of getting to do some swimming, so I'd better get it made! I bought my pattern from Simply Modest Swimwear. As you can see, I made a couple changes to it.


The first thing I did was to give it the slightest V-neck, and add a V-shaped band around the neckline. I also virtually eliminated the sleeves leaving only 1 1/2 inch band around the arm holes.


Both my husband and I are very pleased with how it came out. ^_^


Naturally Guinivere couldn't resist the temptation of the spandex when I was trying to spread it out on the floor. ;-)
__________________________________________________

A couple month ago I was hired by our local school district to copy a "ball bag" that the middle-schoolers use for basket ball practice to store their ball in. It's not really a bag, but no other description seems to work.


The bag fits over a metal stand to give it form with these slits.


The pre-planning part of this just about drove me up the wall. For a fabric choice I selected a heavy weight denim; it wasn't until the school had already delivered it to me that I realized duck cloth would have been a better option. All well, live and learn.

As for the binding... originally I had it in mind to make my own biased tape out of the denim. However two things prevented me from doing this. First off, I was really worried that my machine wouldn't be able to handle that many layers of denim. It would at least be 4 layers, at most 6. When I took my machine in for it's yearly maintenance I asked the guy there and he told me that household sewing machines are only built to sew through 3 layers of denim. The second reason was that I didn't have enough fabric left to make biased tape after cutting out the pieces.

I asked the ladies over at the S&S forum for help and one option that kept coming up was grosgrain ribbon. At first I didn't think that it would be strong enough, but was afraid my machine wouldn't like anything thinker, so finally went wth that. We went to Wal-Mart yesterday and naturally they didn't have any in navy, so I had to buy black ribbon. I hope the school doesn't mind.

Anyway, to finally get to what I actually DID today. :-P


First thing was to enclose the bottom edge of top pieces of the side sections.


Next I sewed one on top of the under piece and made the slits. But alas, a summer thunderstorm overhead prevented me from doing anymore. :(


I hope to update my blog everyday until I get it finished!